How Do You Have Live Upload From Camera to Macbook
When yous use your digital camera to take astonishing photos, you're going to want to import those photos onto your Mac to edit, share, and shop them. You lot tin can even set upwardly the Photos app on Mac to import photos automatically from that specific device. In macOS Monterey, y'all can also select which anthology you want those photos to go to. If you're trying to import a bunch of pictures from a specific event, yous can also create a brand new folder and move them directly to information technology for better arrangement.
Here's everything you need to know near how to import photos from your best digital camera to your Mac.
How to select a folder to add new photos from your digital camera in the Photos app on Mac
In macOS Monterey, after you set your digital camera to import to the Photos app, here'southward how to select a specific folder to relocate to.
- Launch the Photos app on your Mac if it doesn't open automatically.
-
Click on your digital camera from the sidebar if it isn't already selected.
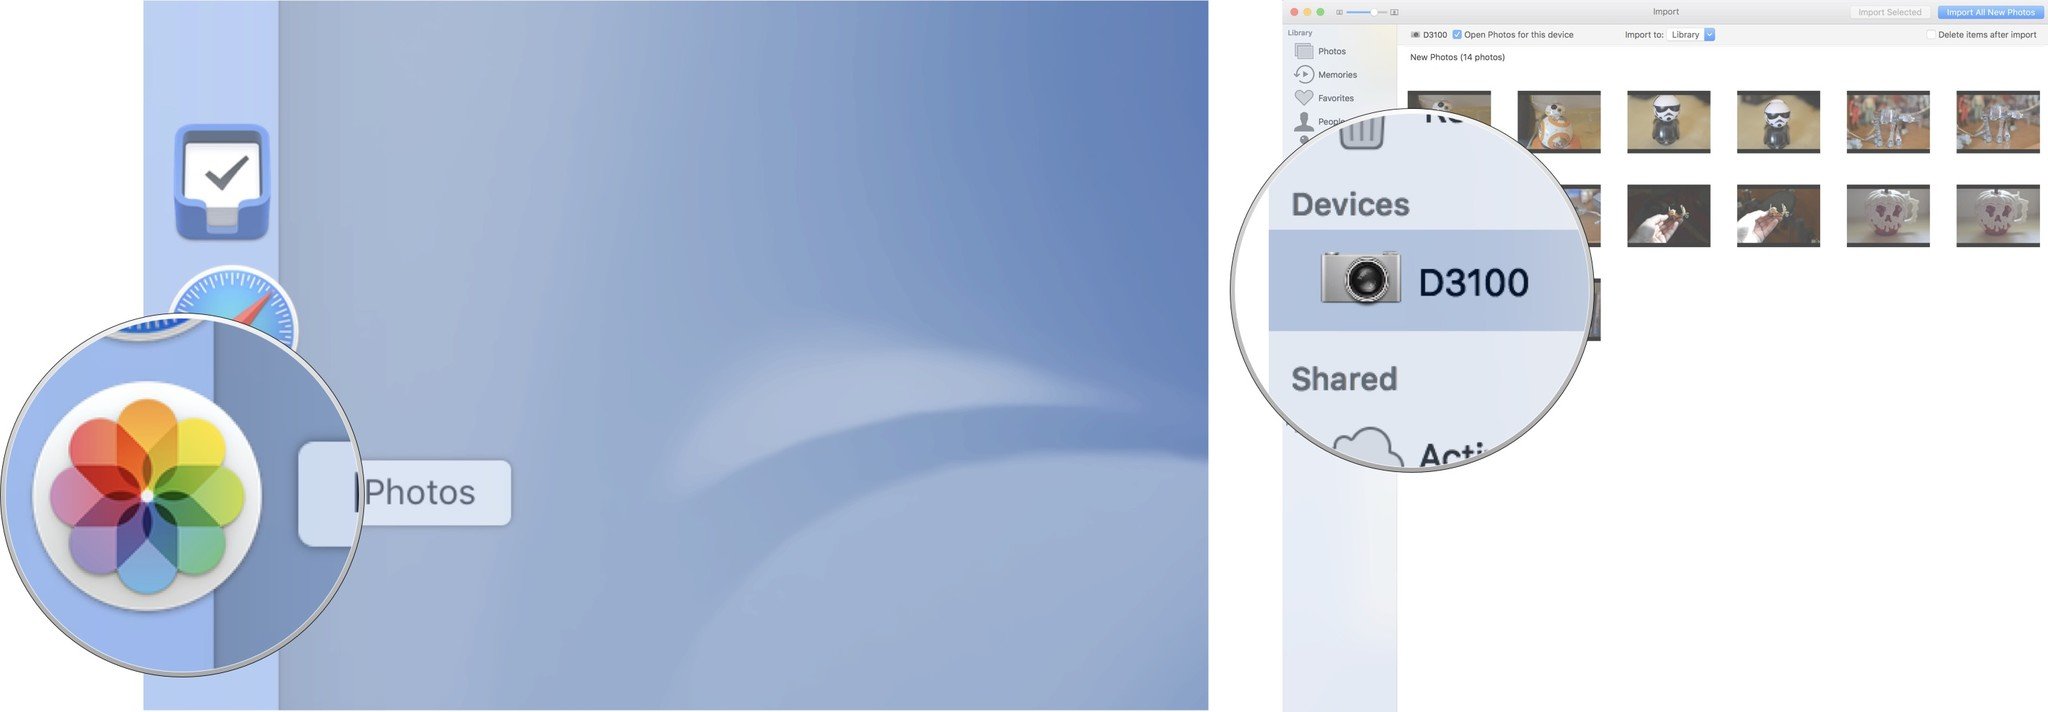 Source: iMore
 - Select the photos you desire to import to a specific folder.
- Click on Library at the top of the Photos app window.
-
Select the binder y'all want to import the selected pictures straight to.
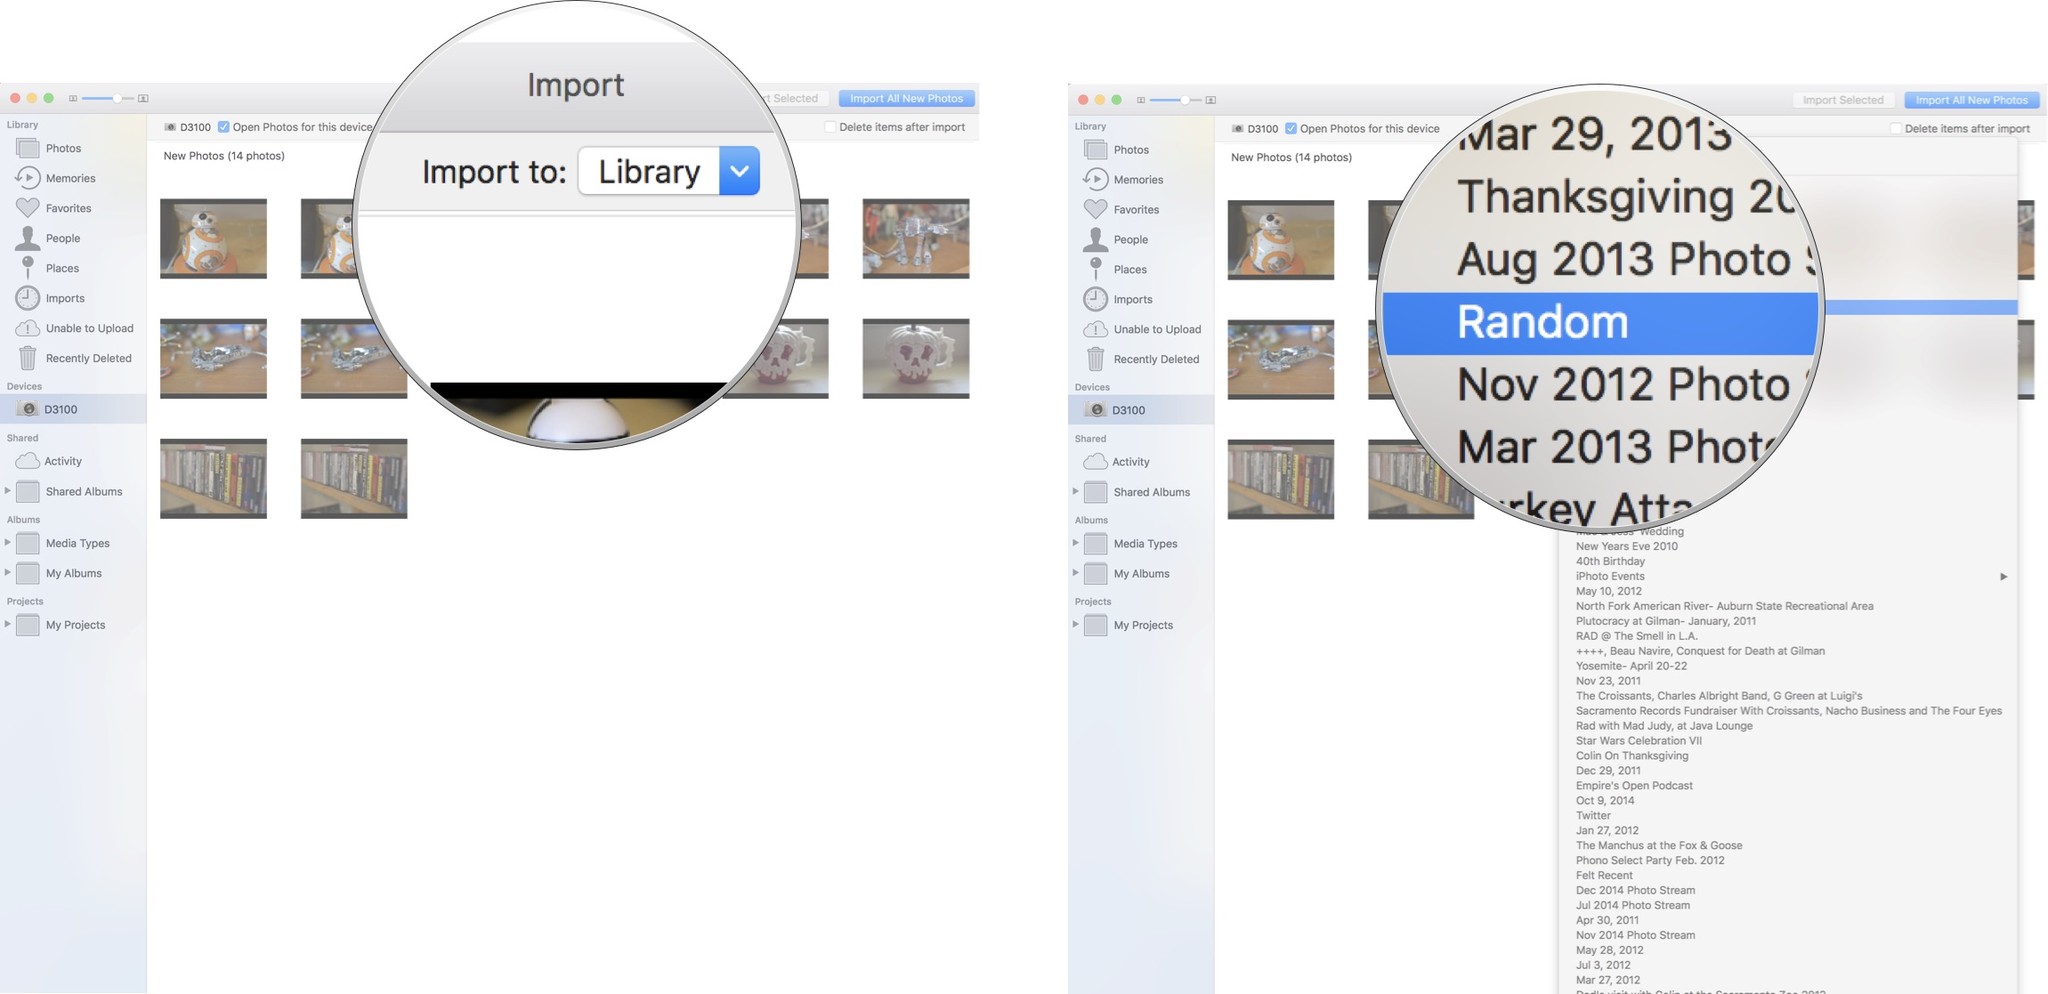 Source: iMore


The pictures will exist imported straight to the binder yous selected. If you want to import multiple photos to different folders, follow the steps above and select which photos you desire to import to each binder until you've imported them all.
How to create a new binder to import photos from your photographic camera to Mac with the Photos app
If you're just about to dump all of your holiday photos into the Photos app on your Mac but haven't created a defended binder for information technology yet, no problem; you tin do so right earlier importing.
- Launch the Photos app on your Mac if it doesn't open automatically.
-
Click on your digital camera from the sidebar if it isn't already selected.
Source: iMore - Select the photos you want to import to the newly created binder.
- Click on Library at the top of the Photos app window.
-
Click on New Album.
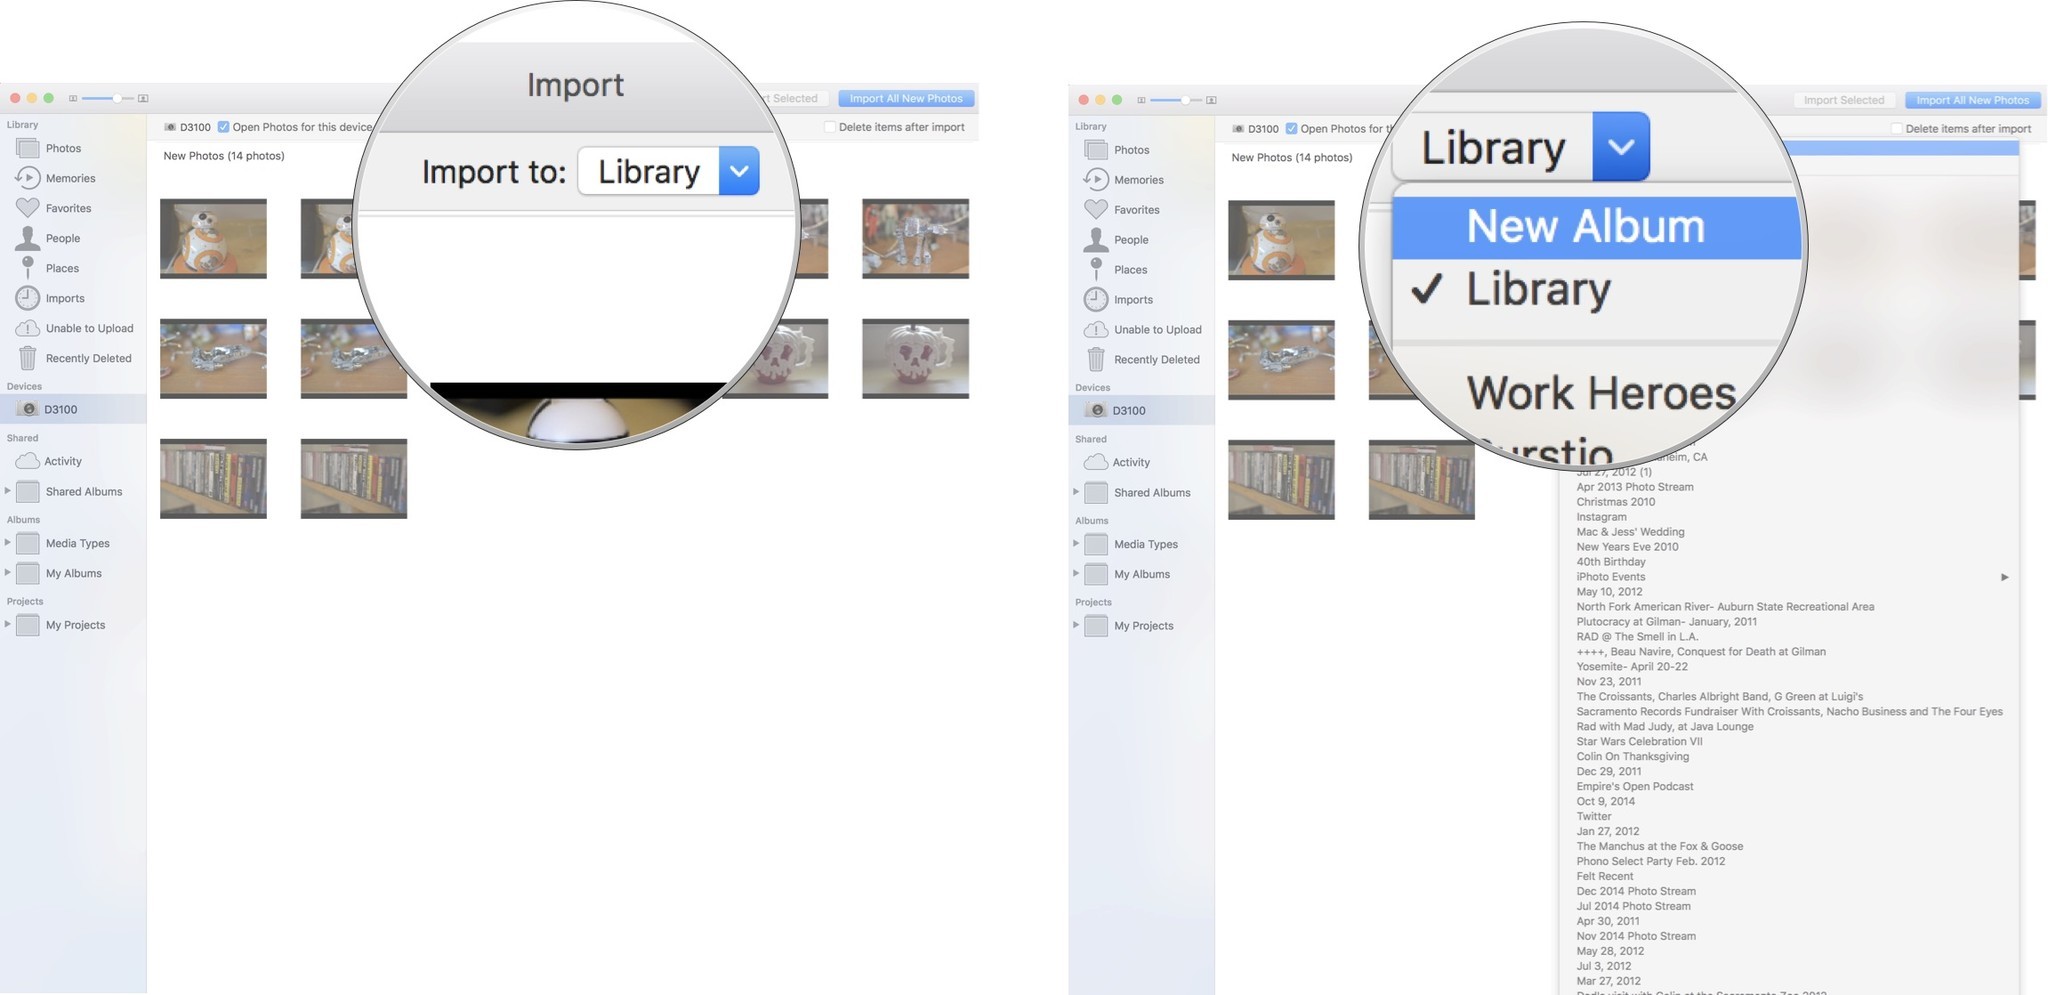 Source: iMore
 - Enter an album name.
-
Click on OK.
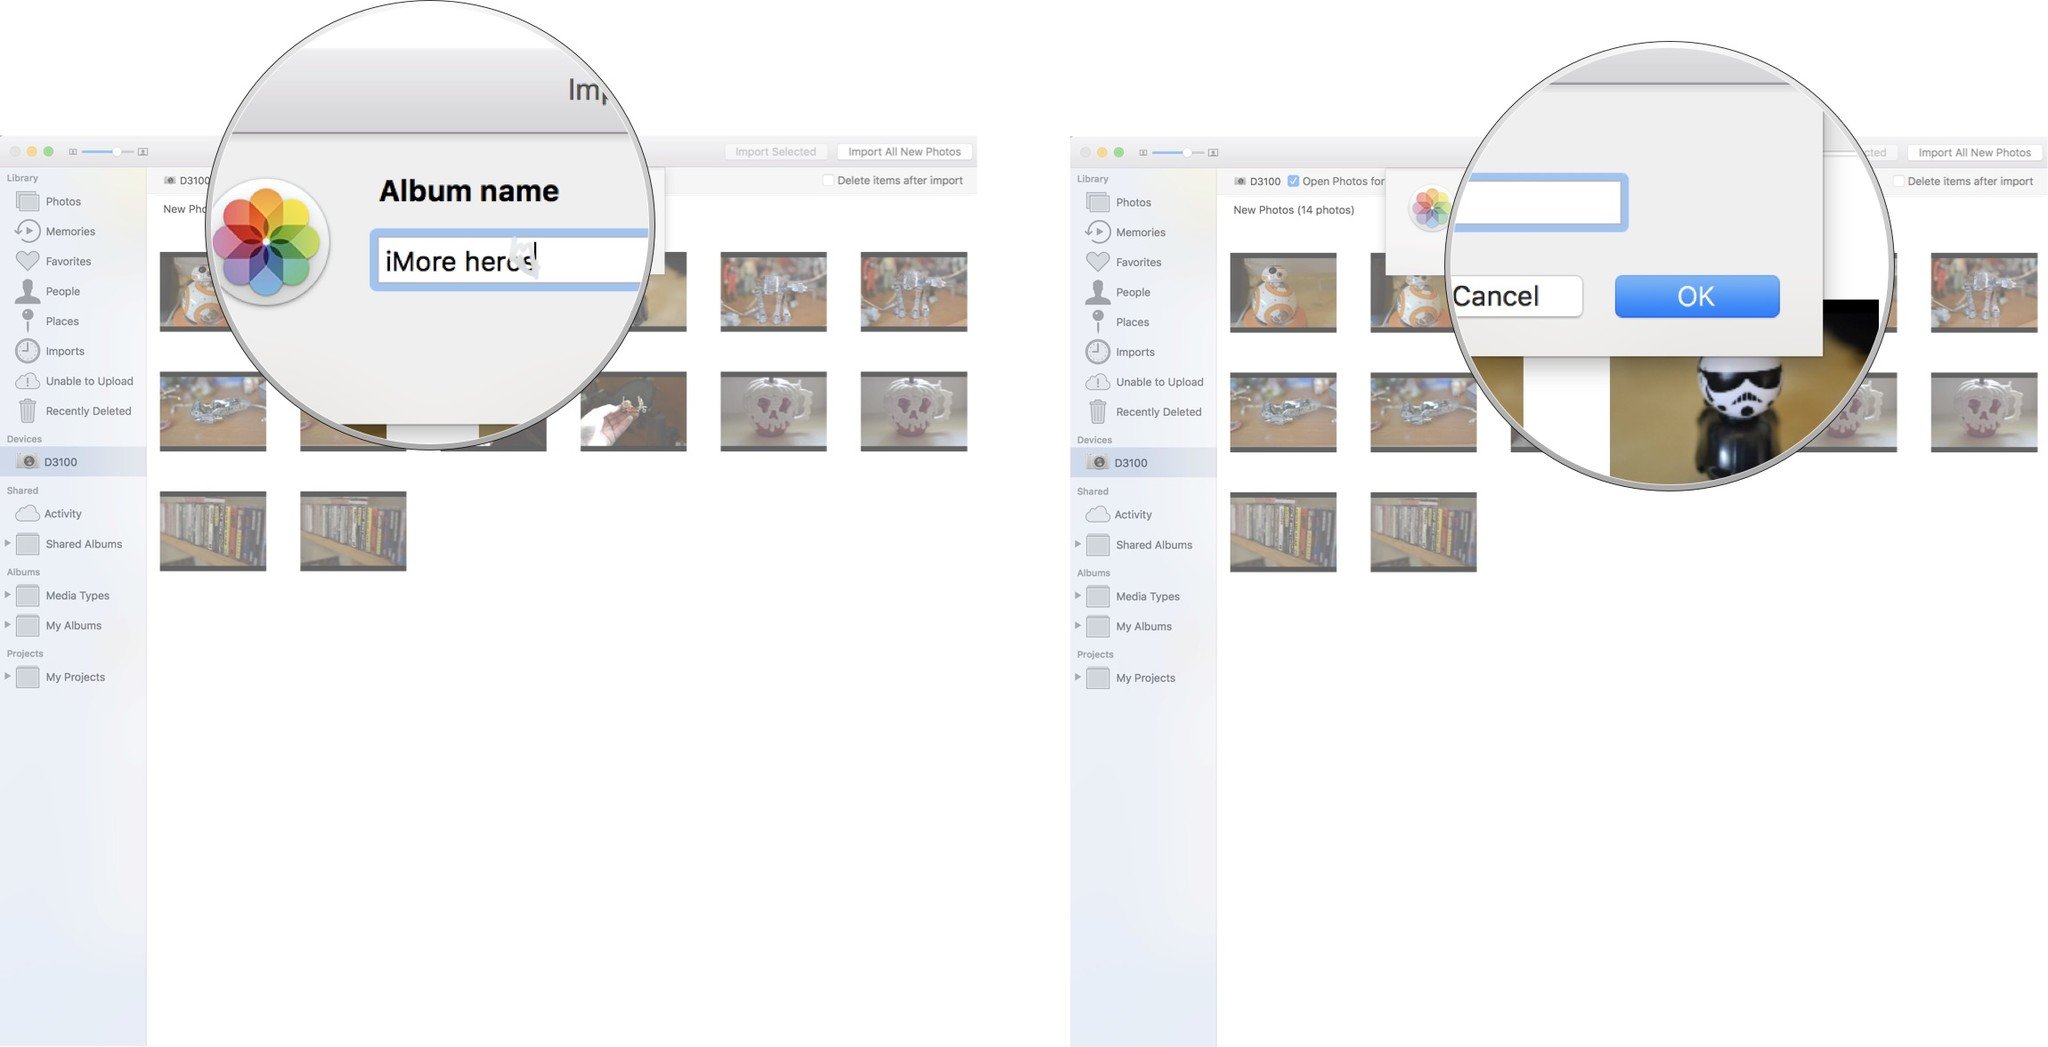 Source: iMore


The pictures will be imported straight to the folder you lot created. If you want to import multiple photos to different folders, follow the steps higher up and create new folders for each until you've imported them all.
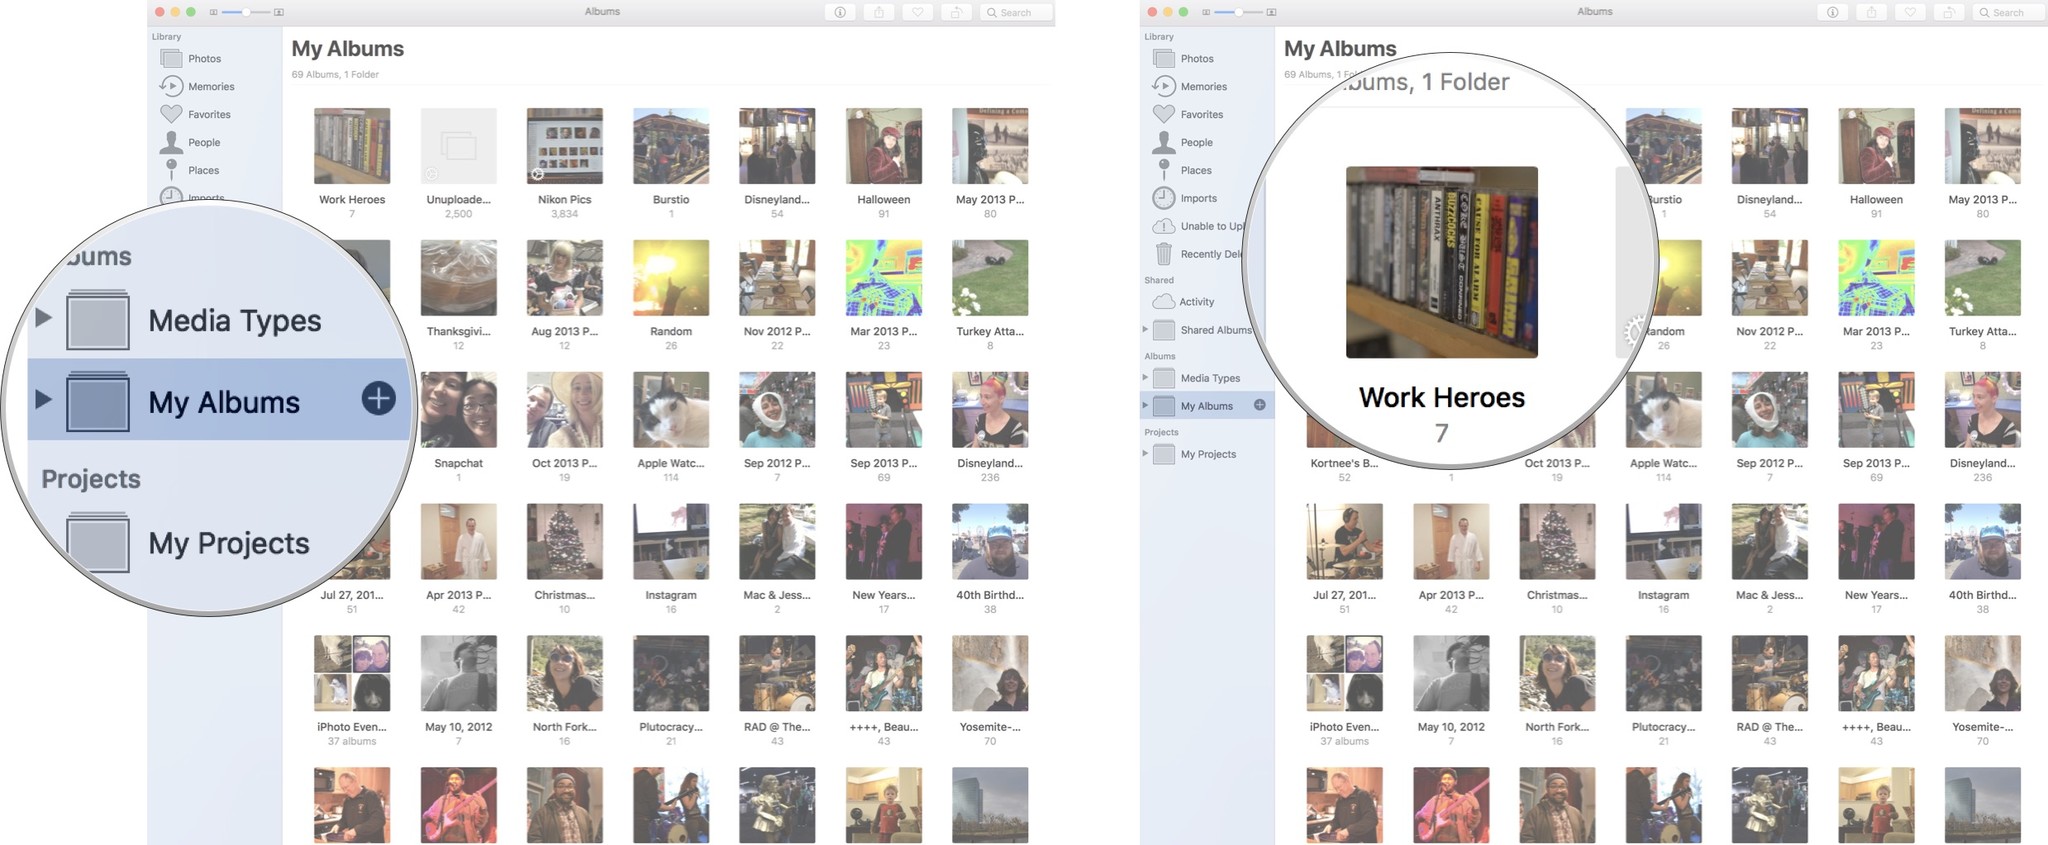
How to find the photos you lot've just added to a folder in the Photos app on Mac
After yous've created or selected a specific binder to import your photos to, you tin discover them under My Albums.
- Launch the Photos app on your Mac.
- Click on My Albums in the sidebar.
-
Double-click on the Anthology.
 Source: iMore

There they are!
Where your pictures get if you don't select a specific binder to import photos from your camera to Mac with the Photos app
If you don't select a folder to import your photos to, you tin withal find them easily. They will ever be delivered to your Photos library (it's the one right at the top of the sidebar) whether you lot transport them to a specific binder or not. You can likewise observe them in your Imports section, where you volition find all of the photos that you lot have imported from your camera to Mac (unless you've deleted them).
- Launch the Photos app on your Mac.
- Click on Imports.
Y'all tin filter your imported content by favorited, edited, only photos, simply videos, or keyword (if you've tagged your photos).
Click on Showing in the upper left and select a filter.
Transfer those photos to your iPhone
Now that yous know how to import photos to the location you what, learning how to transfer photos from your Mac to your iPhone is an excellent way to post your favorite shots to your social media accounts. Happy shooting!
Updated March 2022: Updated for the latest version of macOS Monterey.
Source: https://www.imore.com/how-import-photos-your-digital-camera-specific-folder-mac
0 Response to "How Do You Have Live Upload From Camera to Macbook"
Post a Comment